Running the wallet
This section shows a step by step guide on how to run and build the wallet using IOS or Android platforms. See how to configure wallet for Mainnet.
To get started, ensure your environment is setup properly, using the setup instructions.
Note: Use the shared instance to get up and running with the backend server. For instructions on how to setup and run a local server, see Running App with Local Server. To interact with the wallet, see interacting with the smart wallet
Step 1: Open the RIF Wallet on your code editor
Step 2: View config file
The RIF Wallet environment is configured via the following files:
.env
.env.local
.env.local.android
.env.test
Step 3: Setup environment
- To setup your environment, use the official instructions.
- Use the 'React Native CLI Quickstart' tabs NOT the 'Expo' tabs.
- Follow the instructions explicitly as a small deviation can cause it to fail.
Step 4: Install the dependencies using yarn
yarn installStep 5: Install pod
For iOS, you need to run the additional installation steps below;
cd ios
pod install
Step 6: Run the app using the desired platform
- IOS
yarn ios - Android
yarn android
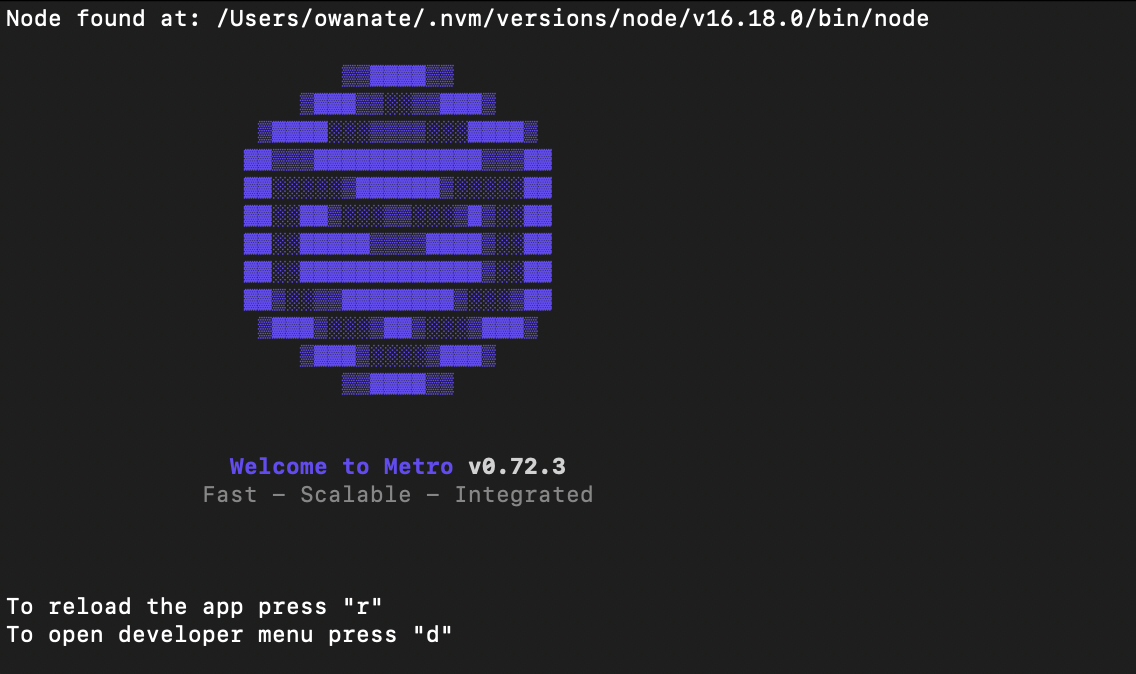
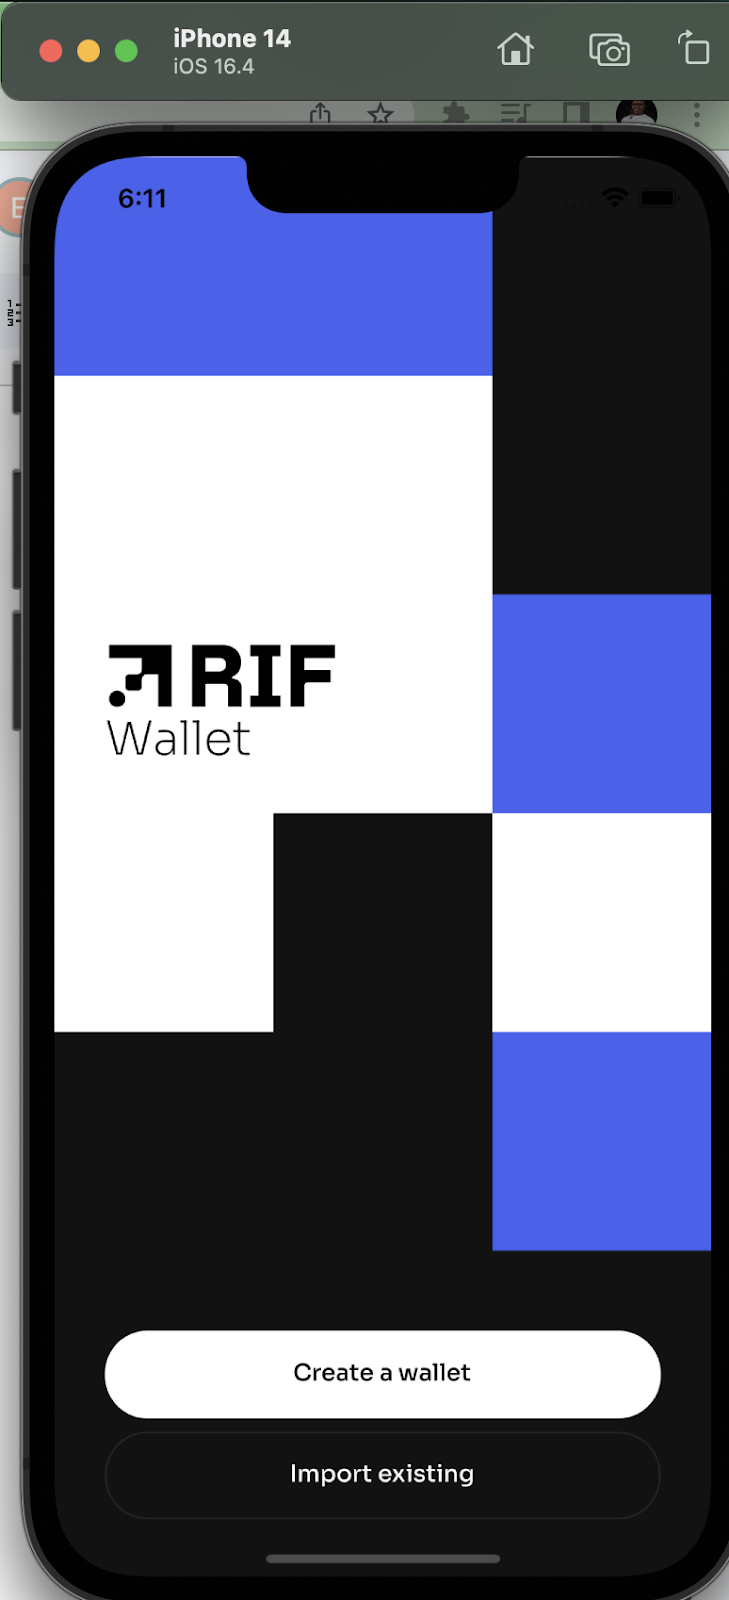
You should see the following in your terminal:
    yarn ios

    yarn run v1.22.19
    ...
    info Found Xcode workspace "rifWallet.xcworkspace"
    info Launching iPhone 14 (iOS 16.4)
    info Building (using "xcodebuild -workspace rifWallet.xcworkspace -configuration Debug -scheme rifWallet -destination id=333FFAA3-D662-491F-8D46-BCF4AD5C713C")
    ⠇ Building the app

Now you can start modifying and building the app to suit your needs.
Mainnet
The app runs in both Rootstock mainnet and testnet with the default chain set to Testnet. You can configure this by changing the environment variable DEFAULT_CHAIN_TYPE to MAINNET in the .env file.
Note: Ensure the RIF Wallet services shared instance is running. See Connecting to a shared instance
Running Builds
Build APK for Android
yarn android:build
- The build step for Android includes a clean. When prompted, say 'Yes' to anything related to Android and 'No' to iOS and system updates.
Build for IOS
Open the project up in Xcode and select the signing profiles that you wish to use. You may need to signup with appstoreconnect and setup the provisioning profile and certificates. See Apple's documentation for more information. Once the app and profiles are loaded in Xcode, create an "archive" of the project by navigating to [Product/Archive]. After it has completed, you can distribute it locally or to the AppStore using the "Organizer" window.
Additional info
- To reload the application, press the R key on your keyboard.
- You can debug your application, by installing the flipper desktop app for debugging or see the troubleshooting guide for how to solve some of the encountered errors.
- See how to use the libraries in Using the Libraries. For development purposes, ensure to switch to a test environment. See Switch networks for more information.